Magicolor 1600W/1650EN High Capacity Black Toner (2,500 pages*) A0V301H
Magicolor 1600W/1650EN High Capacity Cyan Toner (2,500 pages*) A0V30HH
Magicolor 1600W/1650EN High Capacity Magenta Toner (2,500 pages*) A0V30CH
Magicolor 1600W/1650EN High Capacitiy Yellow Toner (2,500 pages*) A0V306H
Magicolor 1600W/1650EN Standard Capacity Cyan Toner (1,500 pages*) A0V30GH
Magicolor 1600W/1650EN Standard Capacity Magenta Toner (1,500 pages*) A0V30AH
Magicolor 1600W/1650EN Standard Capacity Yellow Toner (1,500 pages*) A0V305H
Magicolor 1600W/1650EN Imaging Unit (40,000 pages*) A0VU0Y1
Magicolor 1600W/1650EN Fuser Unit A12J021
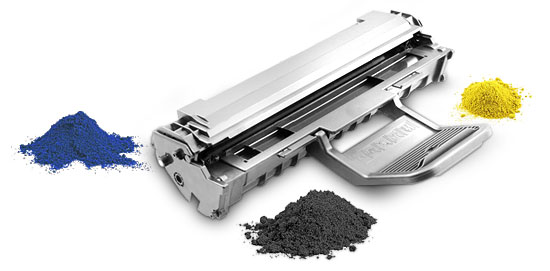
The 4 Pass Carousel Print System
In
4-pass, the print image travels through four successive passes (one per
colour). 4-pass reduces the cost of the printer since there is only one
OPC drum for all the toner cartridges, whereas with 1-pass, there has
to be one OPC drum per toner, but of course printing times for colour
are at least four times as long. That's why for 4-pass colour laser
printers manufacturers show two distinct printing times - one for
monochrome and one for colour.
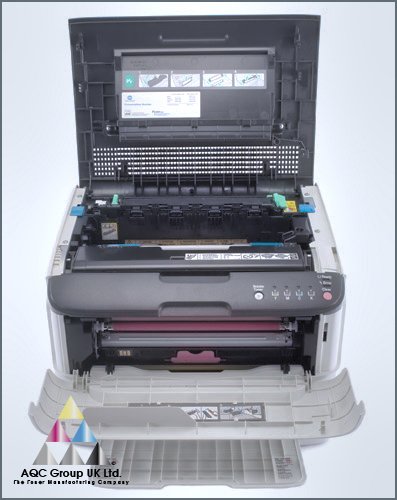
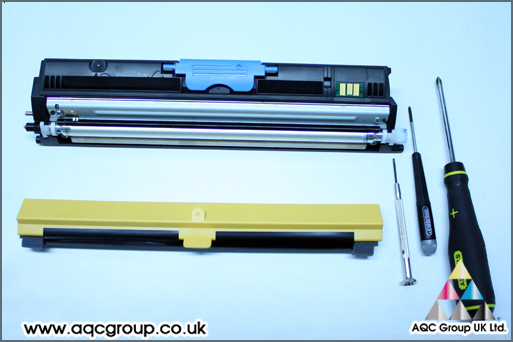
Remanufacturing the Konica Minolta 1600w/1650EN print cartridge
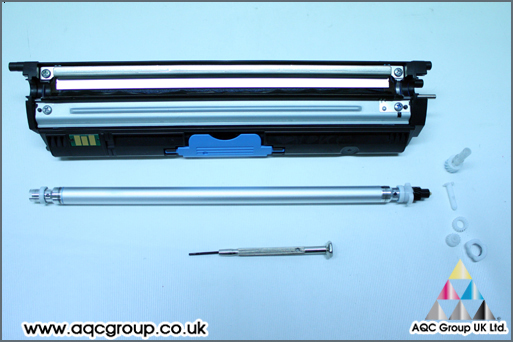
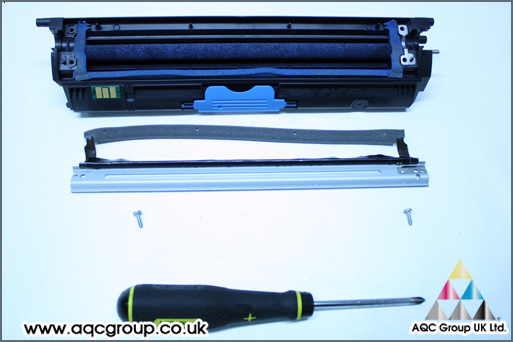
Tools required:
Phillips Screwdriver x 2
Small Flat blade Screwdriver x 1
Vacuum
Compressed air system (Optional)
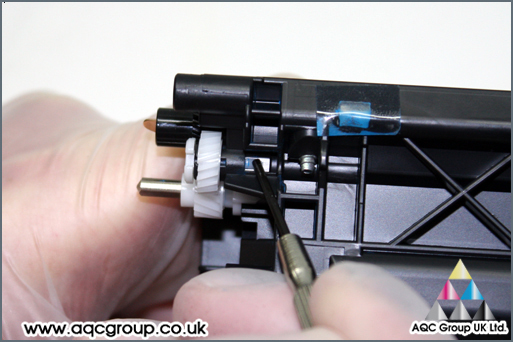
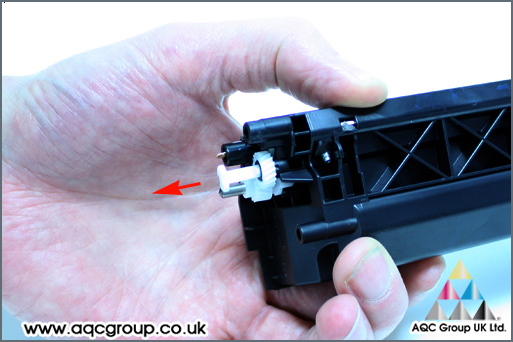
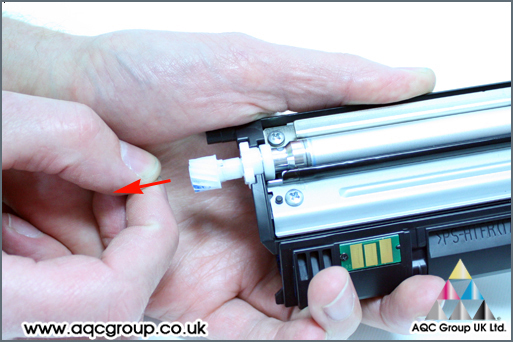
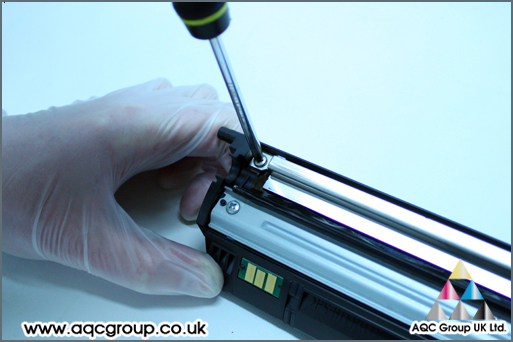
Step one
The first task is to remove the DVR, to do this we will need to remove some small plastic pins. The
first pin we will remove is located on the non chip side of the
cartridge. We will use a small blade screw driver or similar device to
push in towards the cartridges which releases a small lock on the side
of the plastic pin this allows us to lift out the pin.
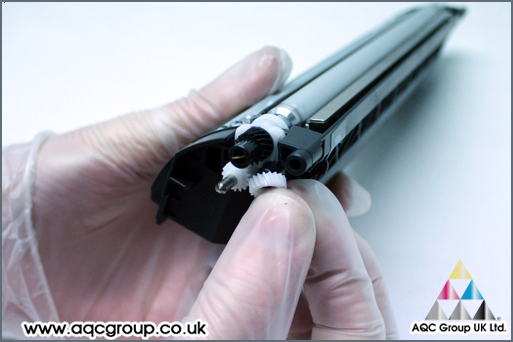
Step two
Two gears can now be removed
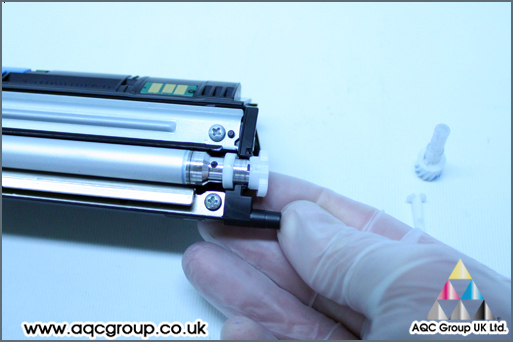
Step Three
On
the other side of the DVR – we use the same technique to remove the
internal pin & gear, gently push in against the cartridge and pull
the gear from the DVR sleeve.
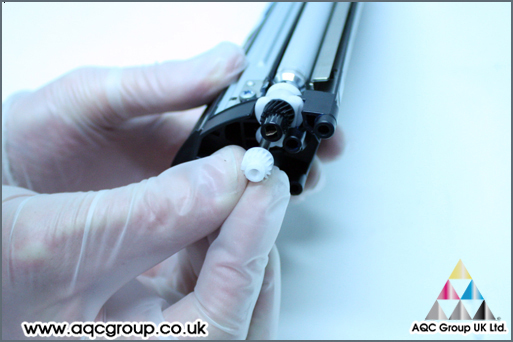
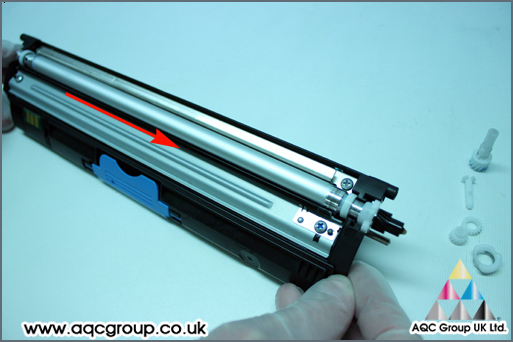
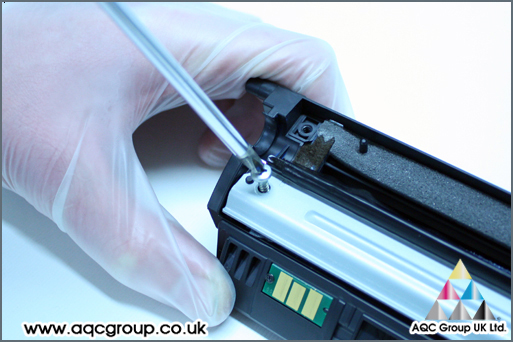
Step Four
The DVR sleeve is held in place at either side by two plastic end caps – these can be removed to release the DVR sleeve.
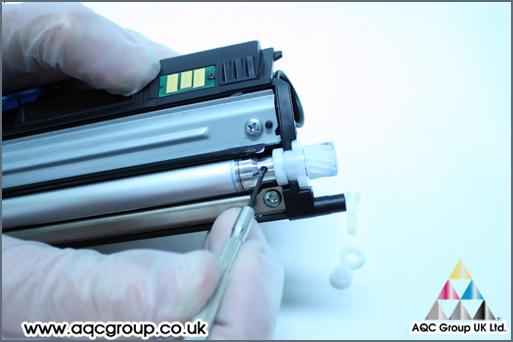
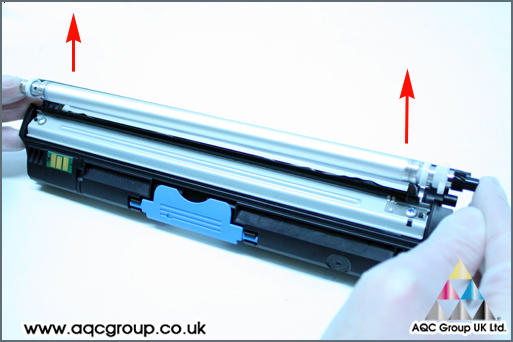
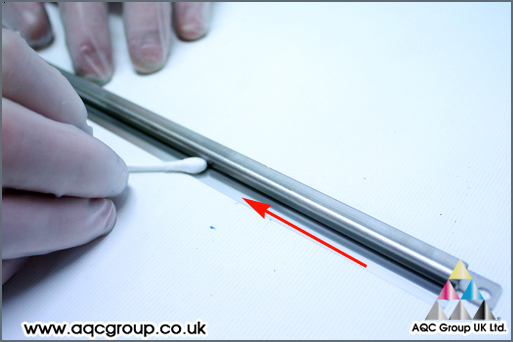
Step Five
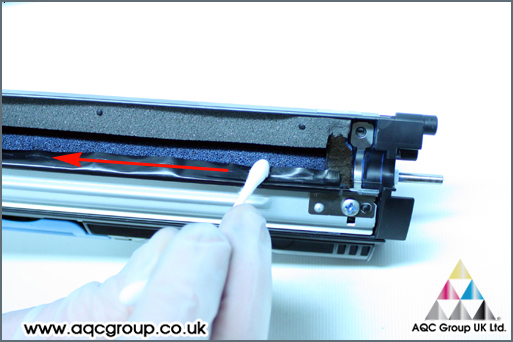
Remove
to clean the doctor-blade, during testing we found some OEM Toner
contamination on the surface of the blade, we used Iso-propanol Alcohol
and a Q-tip to gently clean the contaminated area.
Step Six
Remove the Toner Hopper Seal Plate & Gasket Assembly from the
cartridge, taking care not to break the small join from the Foam Gasket
and End Felts
Once
removed this allows cleaning access into the toner hopper, during our
testing we used a small vacuum pipe to clean the majority of the
remaining toner. We then used compressed air to remove the final remaining toner from the Adder Roller. We did not remove the Adder Roller
and care must be taken during cleaning not to damage the surface of the
roller. In many cases the adder roller is coated with a charging agent
required to help in the development of the toner.
Step Seven
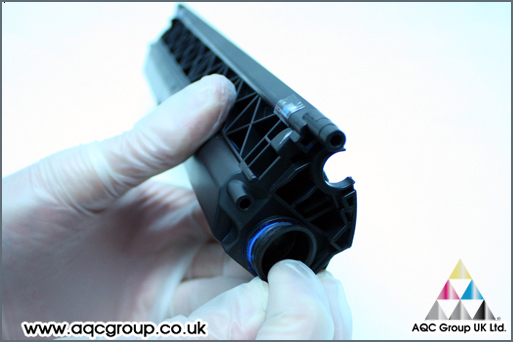
Remove
the Toner Hopper Fill Plug – we managed to pull the plug using our
fingers, but otherwise you can use a larger flat blade screwdriver to
gently prise out the plug – care must be taken as the screwdriver can
‘dent’ the plug which results in toner leaking from the cartridge after
refilling.
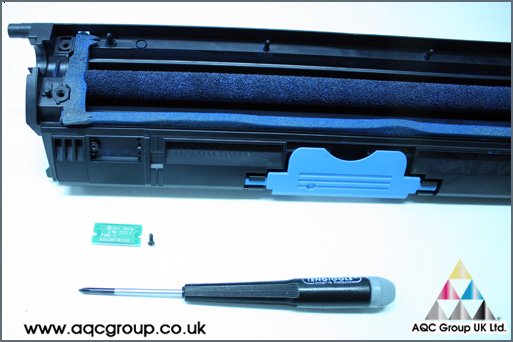
Step Eight
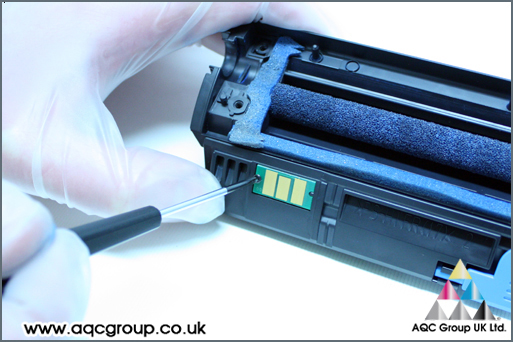
CHIPS
:twisted: – I have a particular dislike of cartridge chips –
nonetheless as with most print cartridges today, the chip must be
replaced.
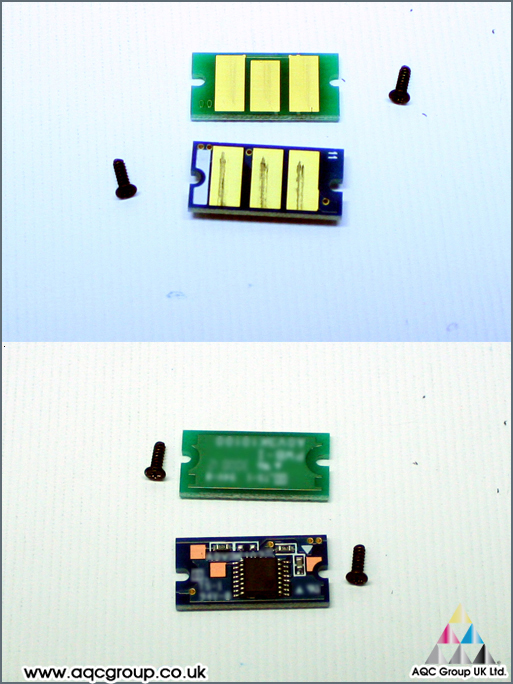
As a point to remember, the Starter Cartridges ship
with a ‘Dummy’ chip. It would be likely the printer has a preset amount
of pages it will count to and then the starter cartridges are no longer
accepted.
Replacing the Starters with Standard or Hi Capacity resets the printer to allow continued printing.
However,
fitting a compatible replacement aftermarket chip supplied by AQC Group
to the Starter Cartridge will turn the cartridge into a regular unit
and thus can be reused.
The above image shows the starter cartridge chip in Green, and the OEM standard in Blue
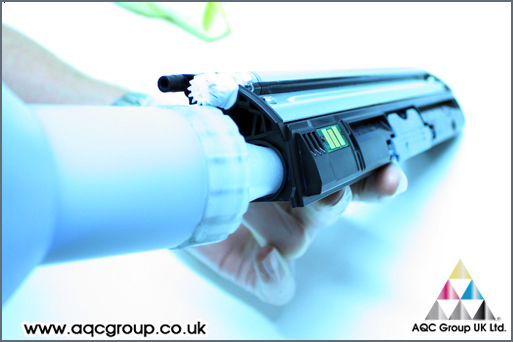
Step nine
Once
all the components have been cleaned and replaced back into the
cartridge, refill with AQC Group UK compatible replacement toner.