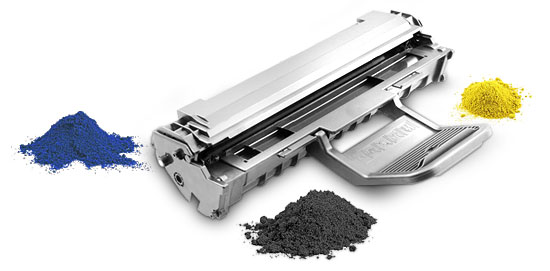
Remanufacturing, Refill instructions the Samsung ML-1660/1665 ML-1860/1865 Printer, MLT-D1042S/ELS Cartridge
How to refill toner cartridge Samsung ML-1660/1665 ML-1860/1865 Printer Series
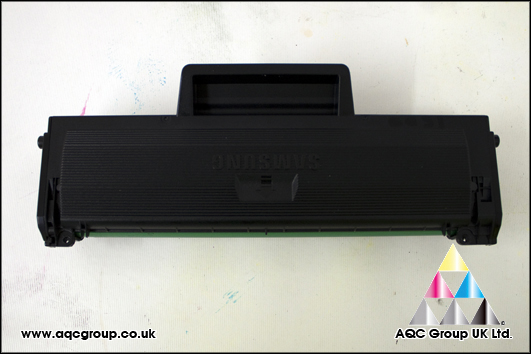
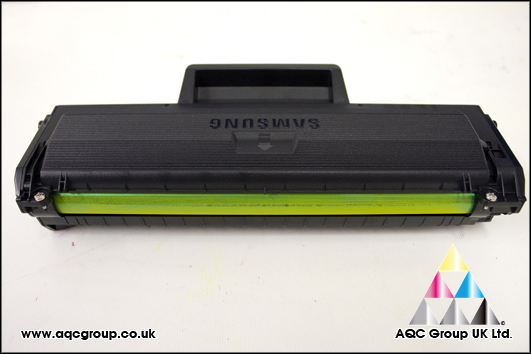
Samsung MLT-D1042S/ELS Cartridge
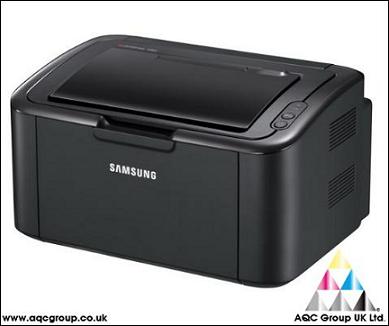
Samsung ML-1665
A4 Mono Laser Printer
Up to 16ppm print speed
First print in less than 8.5 seconds
Up to 1,200 x 600 dpi resolution
USB 2.0 interface
150MHz processor
8MB memory
150 sheet Cassette
SPL emulations
Dimensions (W x D x H) 341 x 224 x 184mm
Weight 4.95 kg
Windows: 2000 / XP / 2003 Server / 2008 Server / Vista / 7
Mac: OS X 10.3~10.6
Various Linux OS
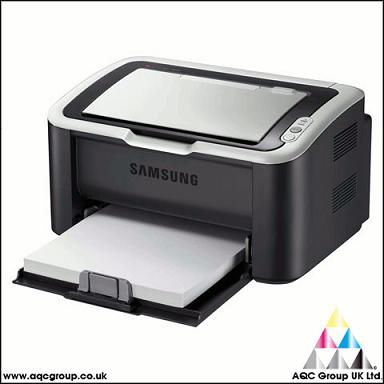
Samsung ML-1860 & ML-1865
A4 Mono Laser Printer
Up to 18ppm print speed
Up to 1,200 x 1,200 dpi print resolution
First page out in 8.5 seconds
8MB Memory
64MB Memory (ML-1865W Only)
150 sheet paper cassette
High Speed USB 2.0
Manual Duplex
Wi-Fi (ML-1865W Only)
Dimensions (W x D x H) 341 x 224 x 184mm
Weight 4.2 kg
Printer Cartridge
ML-1660 ML-1665 ML-1860 ML-1865 Black Toner Cartridge (1,500 pages*)MLT-D1042S/ELS
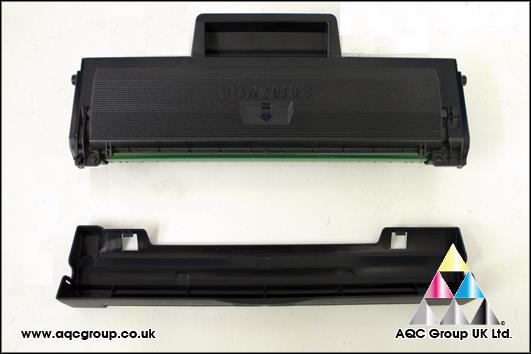
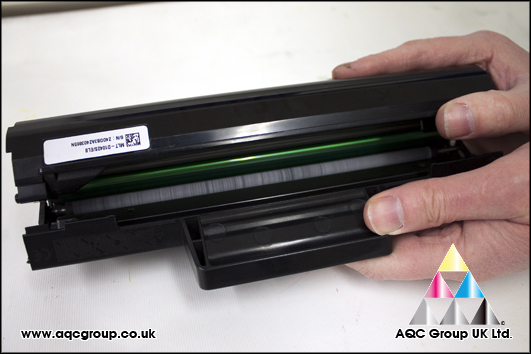
Remanufacturing the MLT-D1042S Cartridge
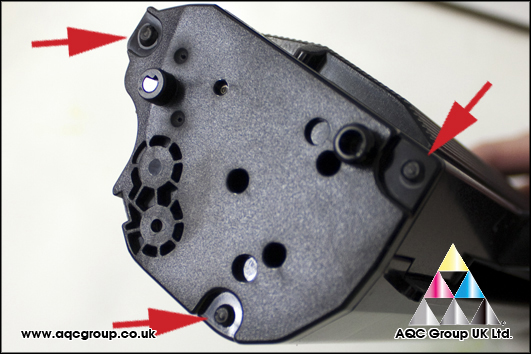
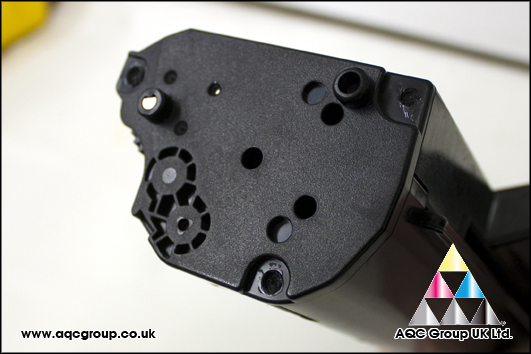
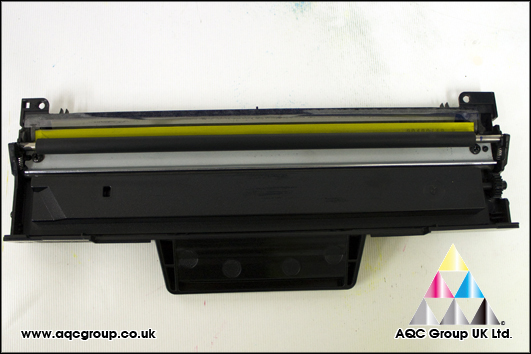
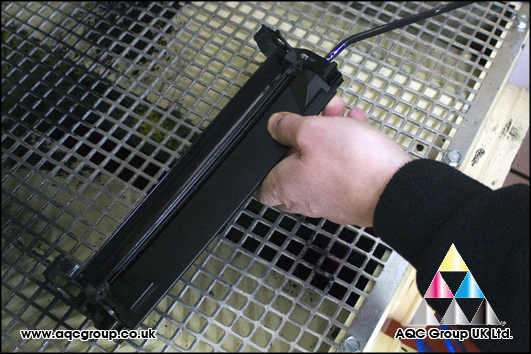
Waste toner section
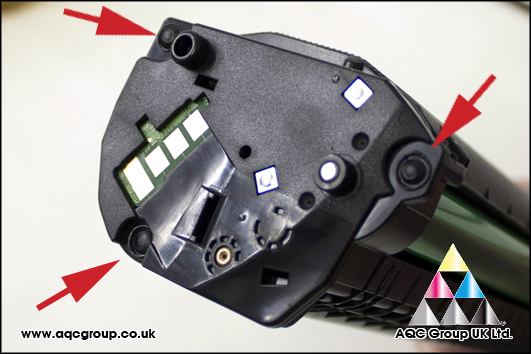
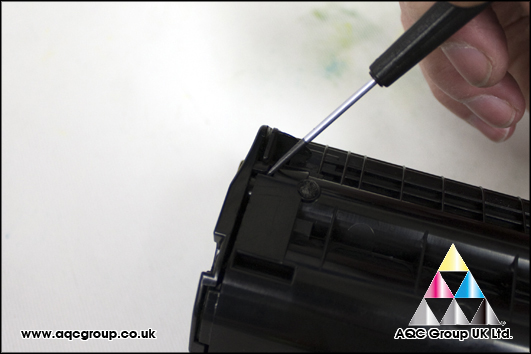
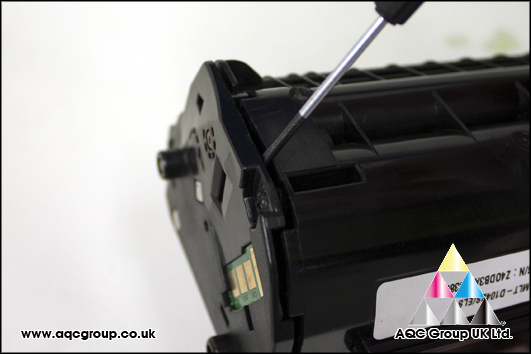
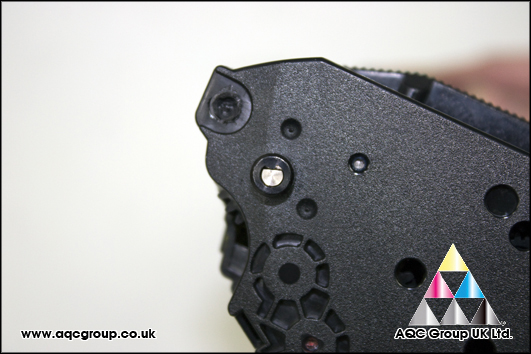
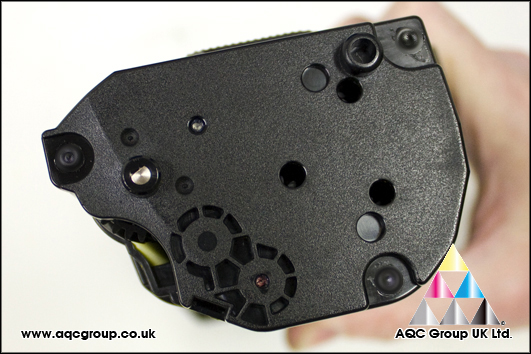
1. The end plates are sealed in place – three points on each end plate
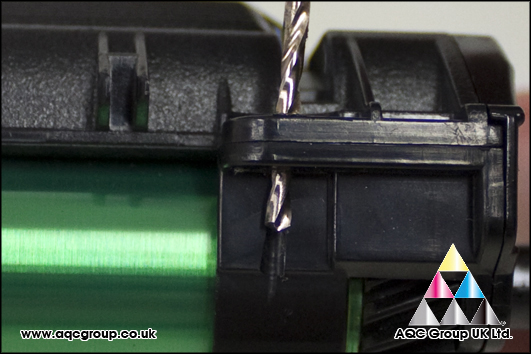
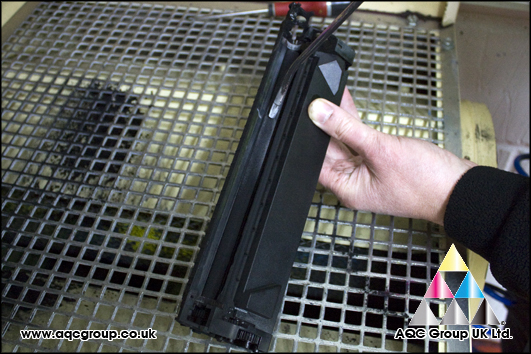
2. Using a small drill – remove the ‘bubble’ area of the end plate to a depth of 1/2mm. Do this for all six points
3. The OPC Drum section is also secured at either end – drill out a small section of the ‘bubble’
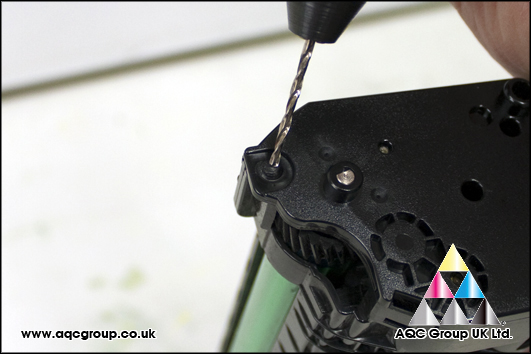
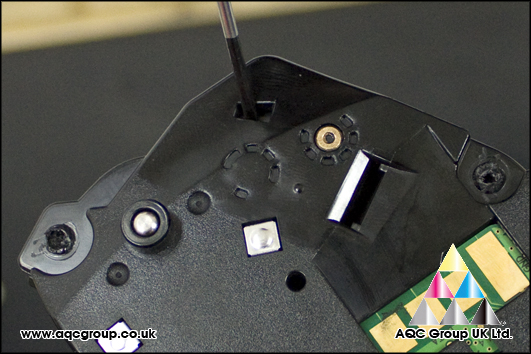
4.
a. You can make a small drill hole through the cartridge – later on we will use a small screw to join the two sides together. b. *You can also or may prefer instead to use adhesives/glue
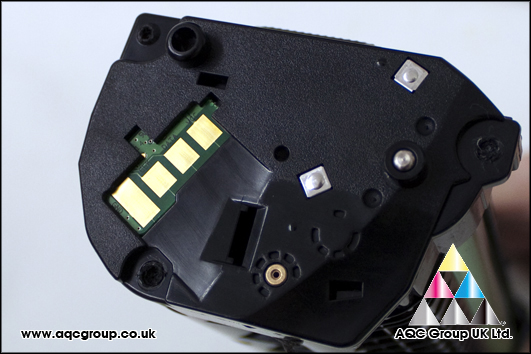
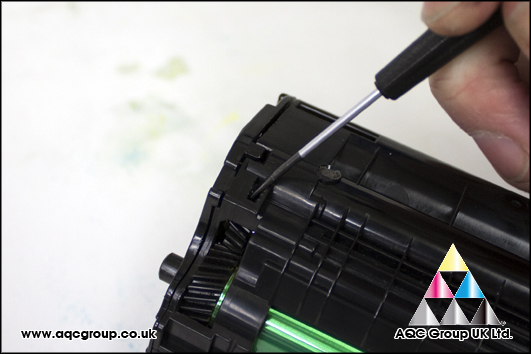
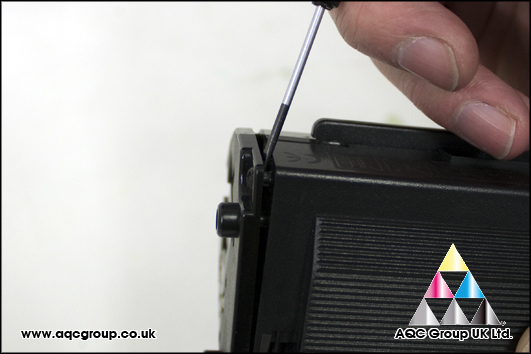
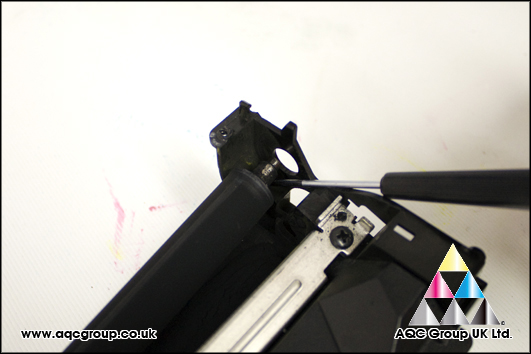
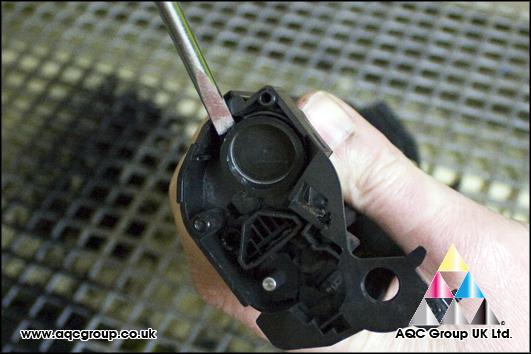
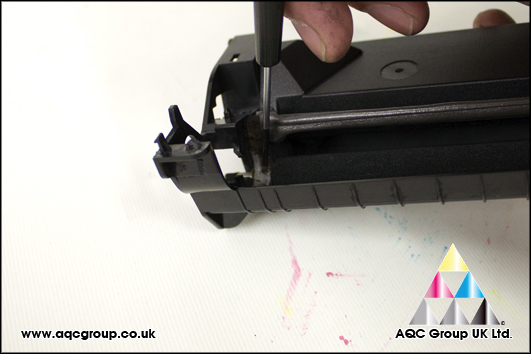
5. a. The end plate is also held in place by a small clip – gently push apart using a flat blade screwdriver
b.
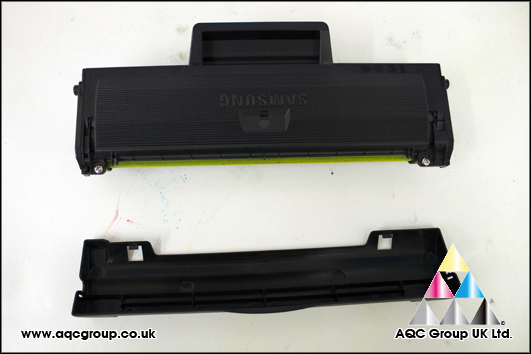
Once all the securing points have been lightly drilled out – taking a
flat blade screwdriver to gently prise apart the end plate from the
cartridge, it maybe necessary to snap off remaining plastic at the
joining points
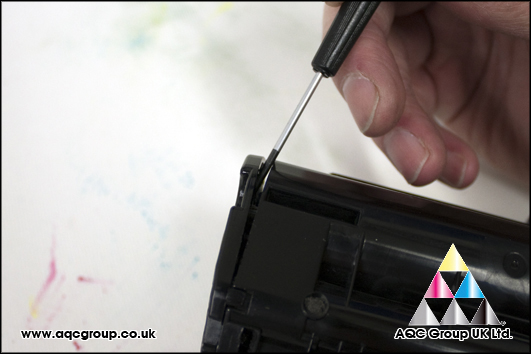
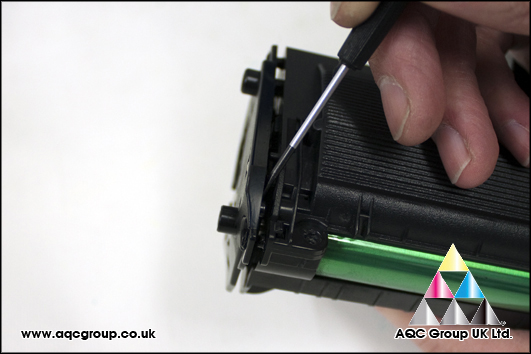
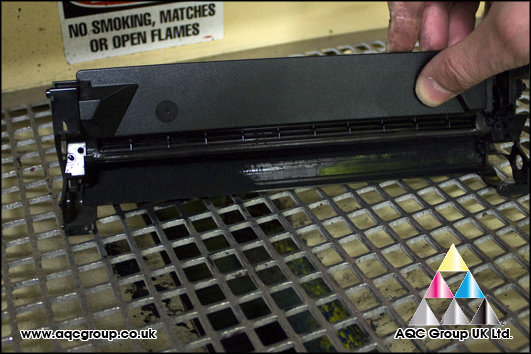
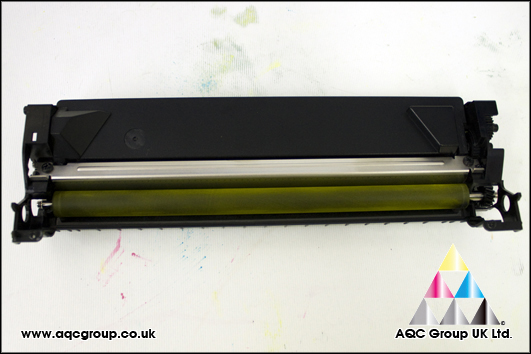
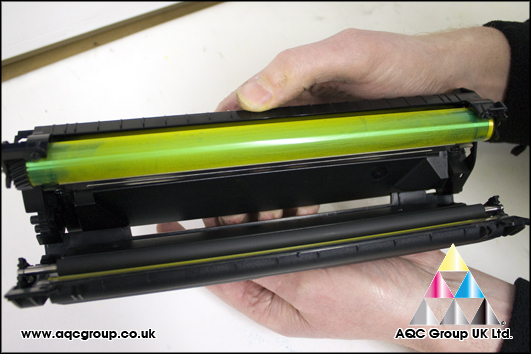
6.
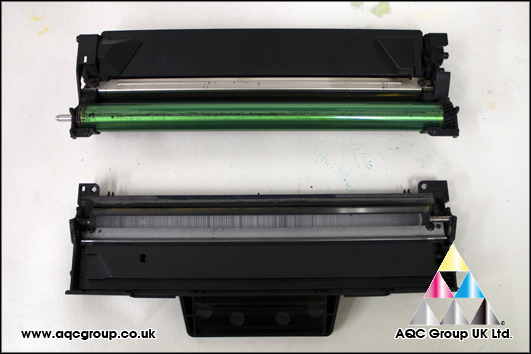
Lay the cartridge with waste section down (on it’s back as toner will
spill from the waste unit) and gently prise the two sections apart -
like a clam shell
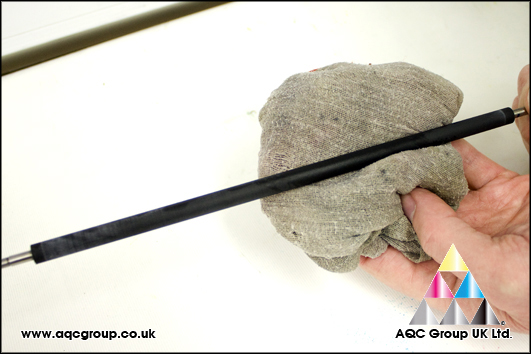
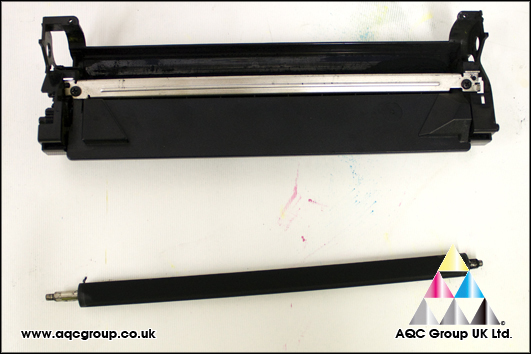
7. Remove the PCR for cleaning with a damp cotton cloth
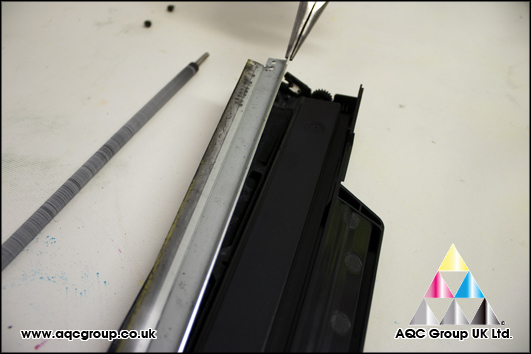
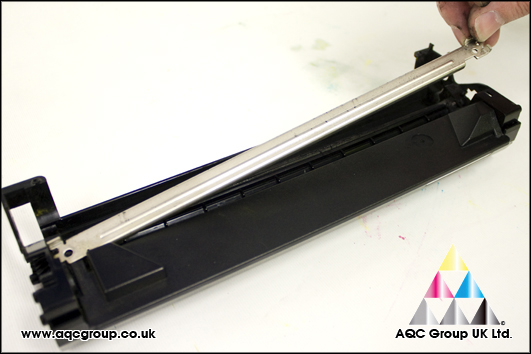
8. Remove the wiper-blade, the blade is pushed up by a foam backing use needle nose pliers to lift out the wiper-blade
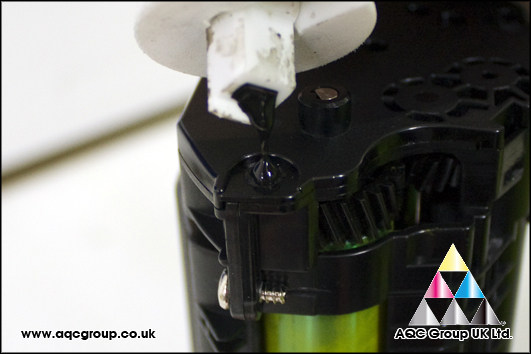
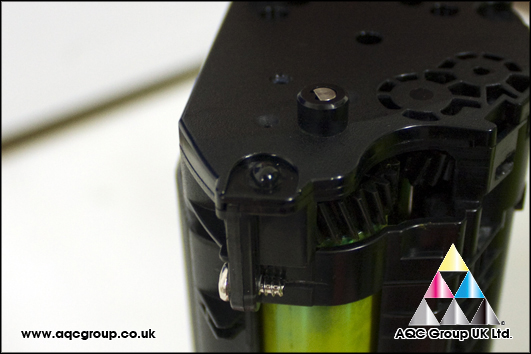
9.
Vacuum clean the waste unit, grease the contact point and PCR roller
(*note: one end of the PCR roller is shorter than the other. Grease the
short end only)
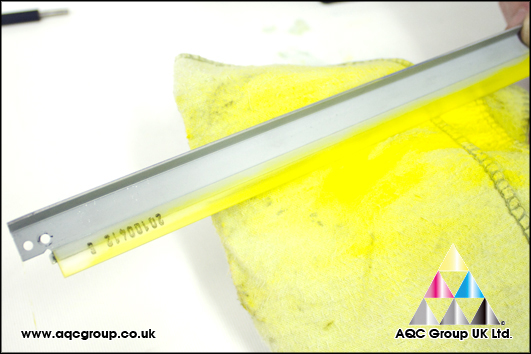
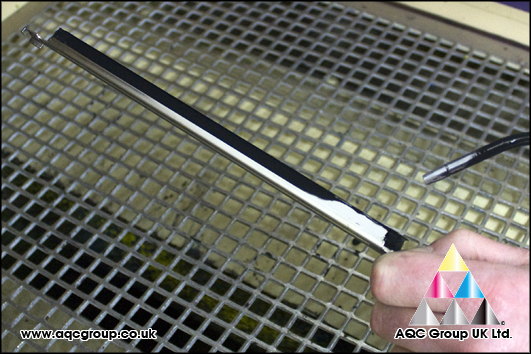
10. Use AQC Yellow Chemical LJ4600 toner as padding agent for the cleaned wiper-blade
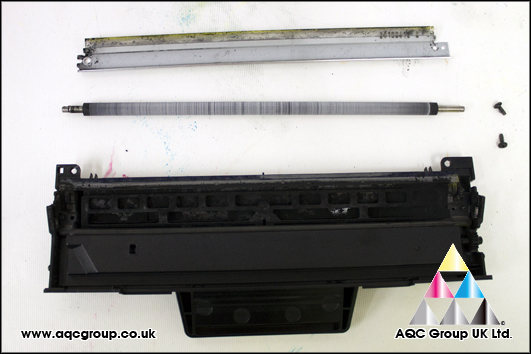
11. Reassemble the waste unit
Toner Section
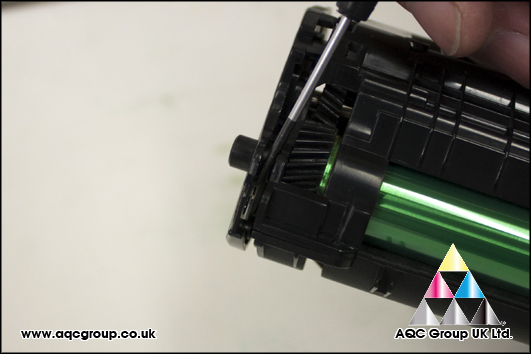
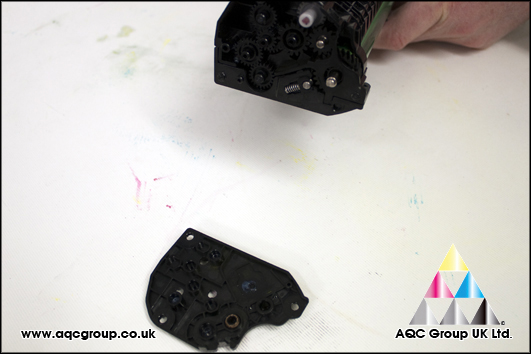
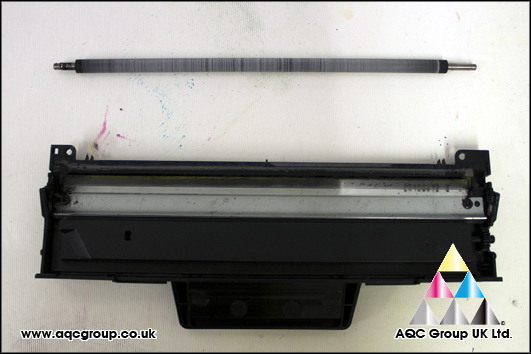
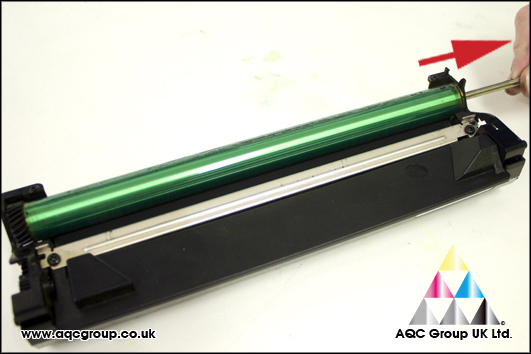
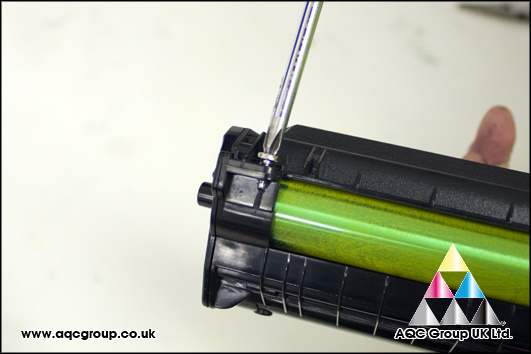
1.
Remove the drum axle in one direction only – away from the gear side of
the drum. The gear side of the OPC drum has a contact point which is
easily damaged
2. Remove the DVR – use flat blade screwdriver to lift out the non geared side of the DVR
3.
Remove the doctor-blade and clean with compressed air (note: check
leading edge of the doctor-blade for any toner sticking to the surface,
use dampt cotton cloth to remove any toner adhered to the surface)
4.
a. Remove any gears and empty out any remaining OEM toner b. Gently prise out the hopper bung c. Using vacuum or compressed air to clean the toner hopper
5. Gently clean up the cartridge end felts with a small screwdriver
6. Replace the cleaned DVR – use Yellow toner padding powder to protect the DVR
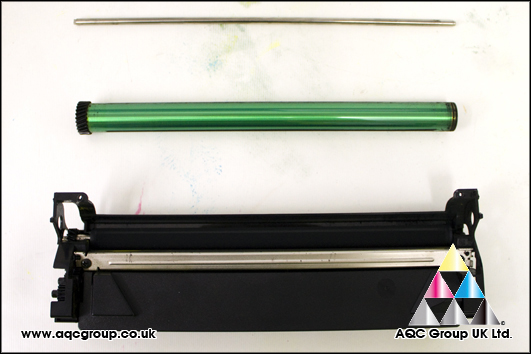
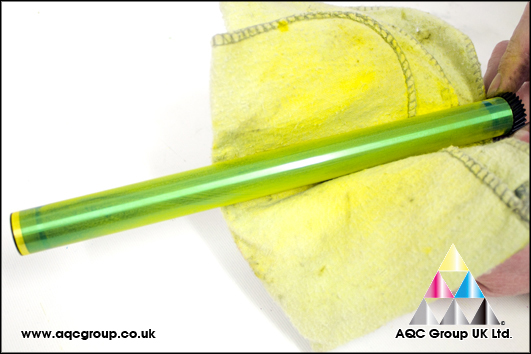
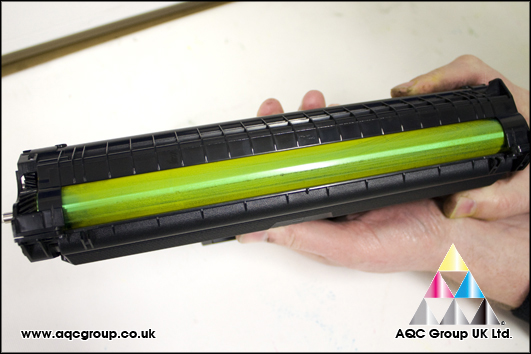
7. Replace OPC drum – replace with new or cleaned OEM – use yellow toner as padding powder
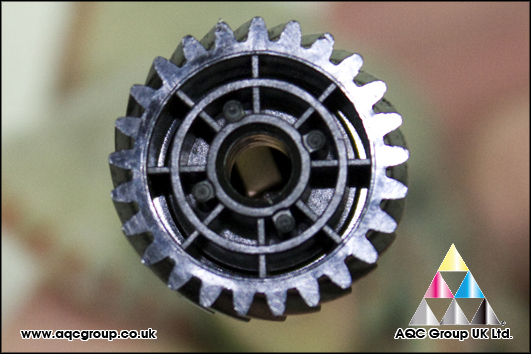
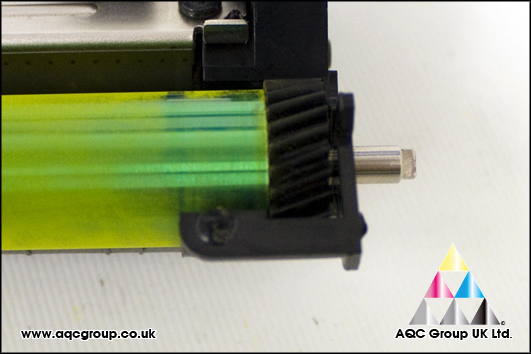
8.
Replace OPC drum axle bar – the bar has a small half moon flat edge on
one side – insert the non flat edge end of the bar into the OPC drum
from the geared side. So that once fitted the flat edge end of the axle
is positioned next to the OPC drum gear
9. Close the two halves of the cartridge back together again
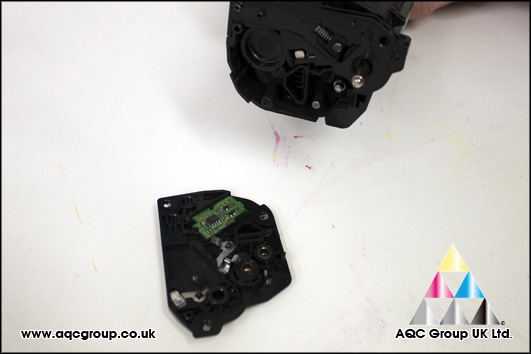
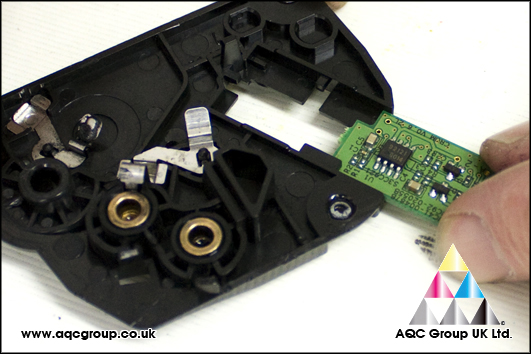
10. Clip back the non chipped end plate
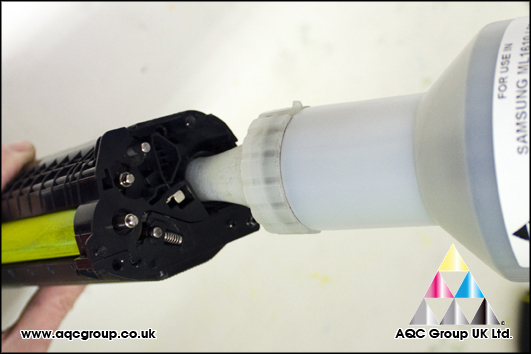
11. Refill with AQC Group UK Ltd – Compatible Replacement Samsung Universal Toner
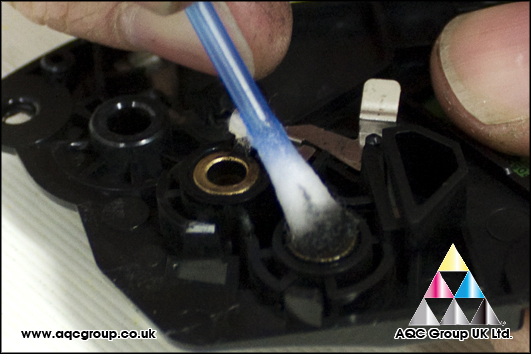
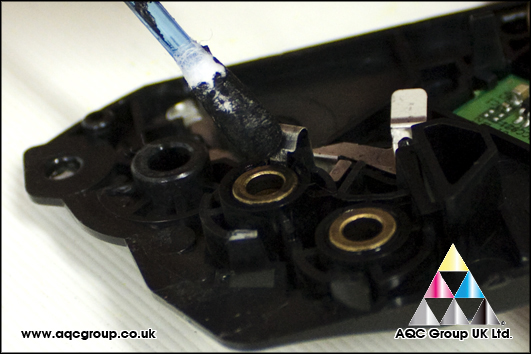
12. Clean and add new conductive grease to the contact points of the cartridge end plate
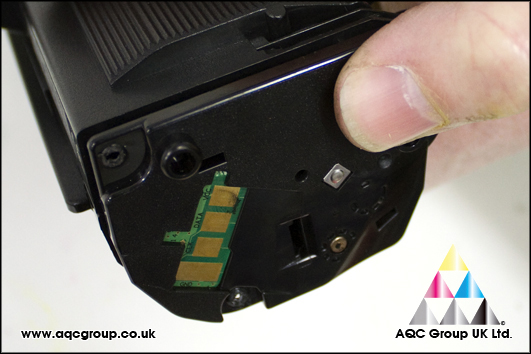
13. Replace the cartridge chip
14. Clip the end plate back to the cartridge
15. Earlier we made two small drill holes through the cartridge – we can use two screws to secure the waste section in place. *This is optional and you can also use glue/adhesives
16.
Another optional extra is to refill the holes we made earlier with a
liquid plastic solution – a few small drops once dried covers over any
earlier work